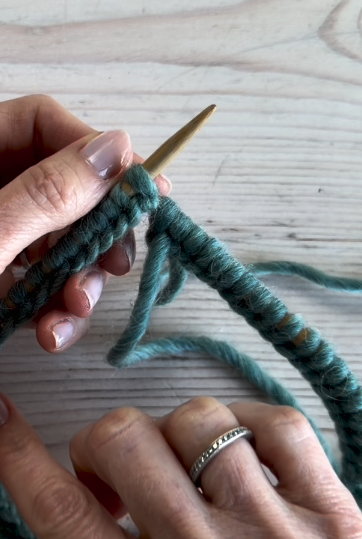
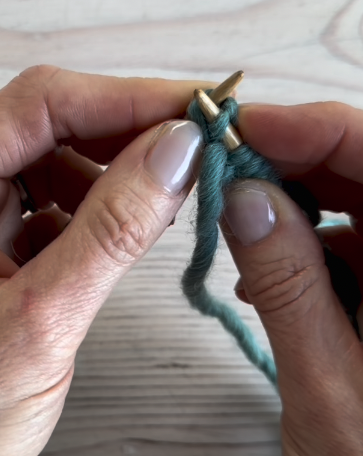
How to Join in the Round without a Gap: 2 Ways
Do you find that you always have a gap between the first and last stitch when joining in the round? And then wind up with an awkward lump when you try to tidy it up after the fact? There’s an easy solution! In fact, there are two.
Begin your project using either of these techniques to give a professional-looking edge to any project. You can see how to work each method in videos (links below) or follow these step by step instructions to give your projects the polished start that they deserve.
First method (video):
Cast on one more stitch than the pattern calls for. If, for example, the pattern instructs you to cast on 96 stitches, instead cast on 97 stitches.
Hold the circular needle so that the first stitch you cast on is near the tip of the left-hand needle and the stitch you cast on last is near the tip of the right-hand needle.
Make sure your stitches are aligned so you don’t join with a twist! In the video, I show how my stitches are arranged to guard against this problem.
Slip the first stitch that you cast on from the left-hand needle to the right-hand needle.
Pass the last stitch that you cast on over the stitch you just slipped.
Place your beginning-of-round marker.
Start knitting!
Second method (video):
Follow steps 1 - 3 as for first method.
4. Slip the stitch you cast on last from the right-hand needle to the left-hand needle.
5. Place your beginning-of-round marker.
6. Insert the tip of the right-hand needle into the first two stitches on the left-hand needle, which are now the first stitch you cast on and the last stitch you cast on.
7. Knit those two stitches together. This forms the first stitch of your round.
8. Continue knitting the first round of your pattern.

Try your new skill out on these hats:
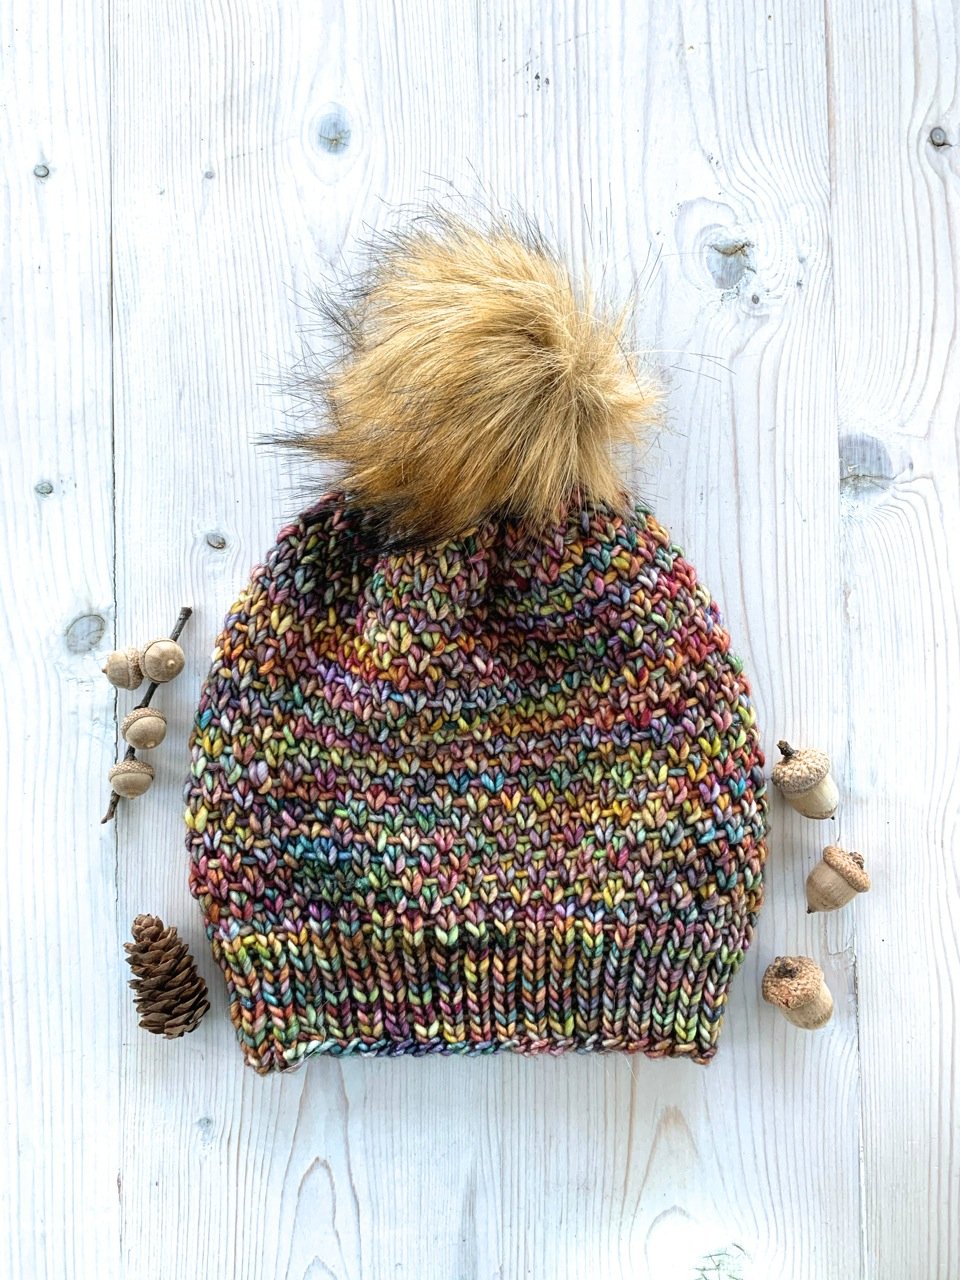
• Bulky yarn • Beginner friendly •
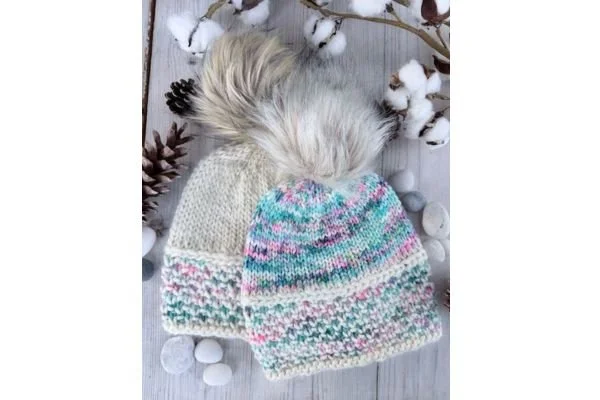
The Aspenglow Hat’s stitch pattern is simple, but produces a stunning hat that knitters and non-knitters alike will compliment.
Why you will love to knit and to wear this hat:
The stitch pattern is quick to work and easy to pick up and put down.
Using bulky yarn, it knits up extra fast.
It is a great showcase for variegated yarn, highlighting every color for a beautifully artful effect.
Make the matching cowl, too! You can get the patterns together for a discounted price here.
What knitters say about Aspenglow:
“I’m a relatively new knitter and love this pattern! I’ve made 2 so far and plan to make more.”– Kate
“I love this pattern! I’m currently on my 4th one and everyone loves it!” - Wanda
This pattern has been tech edited and test knitted to give you a smooth, error-free knitting experience.
Many thanks to the fabulous test knitters of this pattern!
I always announce test knitting opportunities in my newsletter, and like to include testers of various experience levels. Subscribe here to see the testing calls, plus get discounts on new patterns and more.
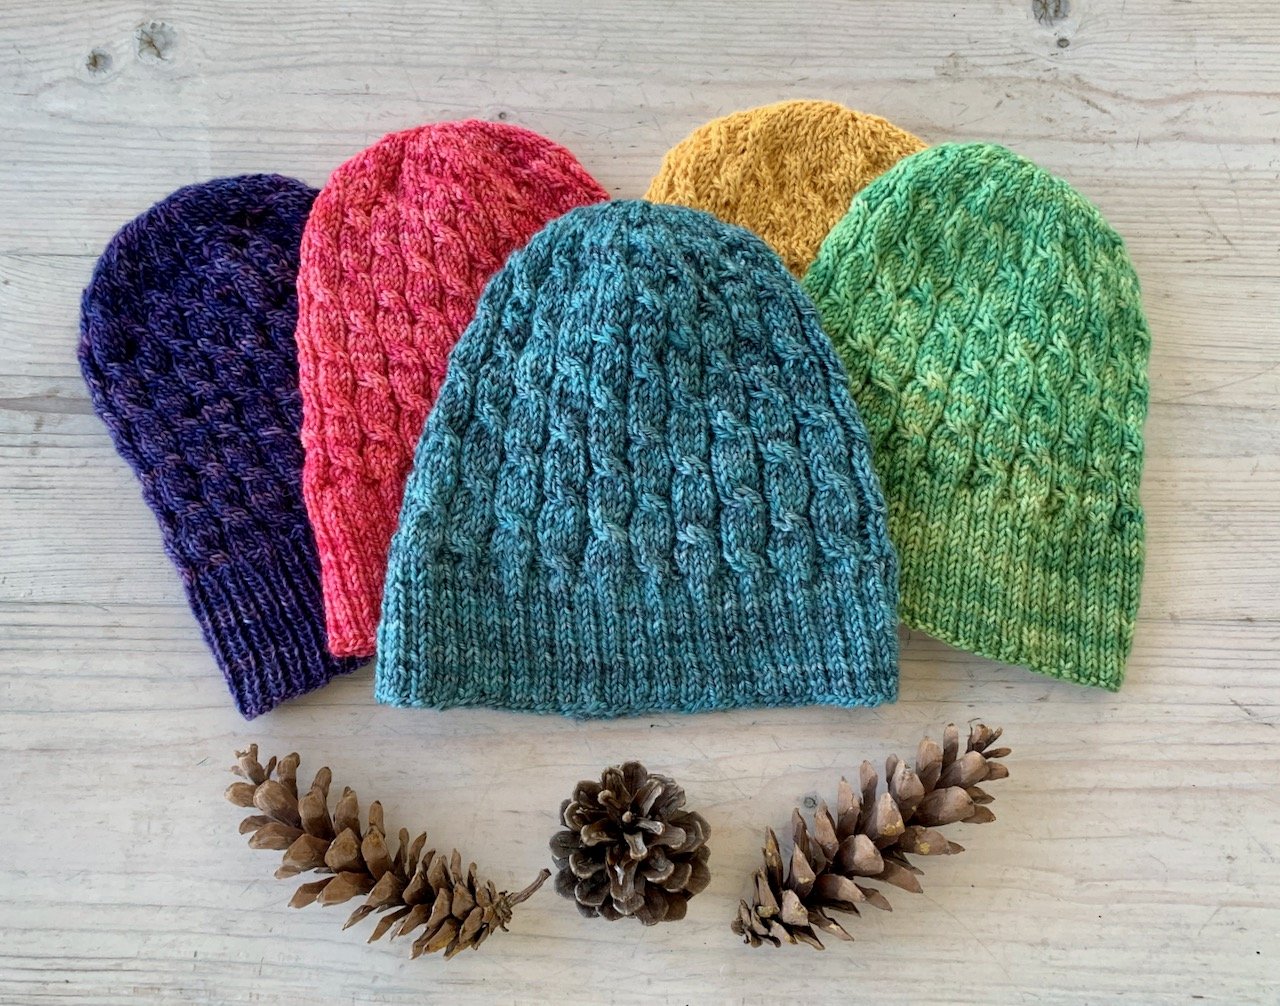
• Fingering/sock weight • Worked flat OR in the round •
Inside Hat takes the edge off damp, chilly weather, but is lightweight enough to wear all day, including when you’re - you know, inside. ;)
You can leave this hat on as you are doing errands or going in and out of the house and keep the chill off without getting hot.
This is also a great pattern for those new to cables - even for your very first cable project! V https://youtu.be/uAxH6-cS6Us for a step by step instructional cable video.
Why you will want to add Inside Hat to your hat wardrobe:
It’s perfect for transitional weather when autumn is turning into winter or winter into spring.
Never worked cables? The detailed pattern makes this a great introduction to them.
The classic cable goes with everything.
Instructions are included for working flat OR in the round, whichever you prefer, provided as completely separate patterns for clarity and easy of use.
The pattern includes sizing for kids and adults.
What knitters say about Inside Hat:
“An easy and fun pattern. Very stretchy.” – Sara
“Well-written pattern, easy to follow.” – Linda
“The main reason for choosing to knit the flat version was I usually always knit in the round and I thought it would be good to try something different. I am glad I did, It was so easy completing the cables especially the last couple in the decrease area, no juggling double pointed needles or magic loop as well as the cables.” – Jill
This pattern has been tech edited and test knitted to give you a smooth, error-free knitting experience.
Thank you to the fabulous test knitters of this hat! If you might be interested in test knitting, join the Softyarn Designs newsletter, where test knitting opportunities are announced.
• Beginner-friendly • Super bulky yarn •
Fizzy Hat: Fun and quick!
Several of this hat's test knitters enjoyed the pattern so much, they made more than one. You'll want to cast this on again and again, too! Here's why:
• The project moves fast thanks to super bulky yarn.
• Use just one color at a time to create the effect of a mesh overlay - looks fancy, but so easy!
• The pattern lets you add a skill to your knitting repertoire with the decorative lateral (Estonian) braid. A photo tutorial and a video link take you through the method step by step so you learn with ease.
• Not in the mood for the braid? A suggested substitute keeps it simple.
• The detailed pattern includes 5 sizes for children through large adults.
• The hat looks great with or without a pompom.
• I work hard to make sure my patterns are very thorough- I give you stitch counts any time there is a change, provide detailed explanations, and provide quality photos as guides.
• If you ever have any questions regarding the pattern, I’m always available via email and here to help if you get stuck!